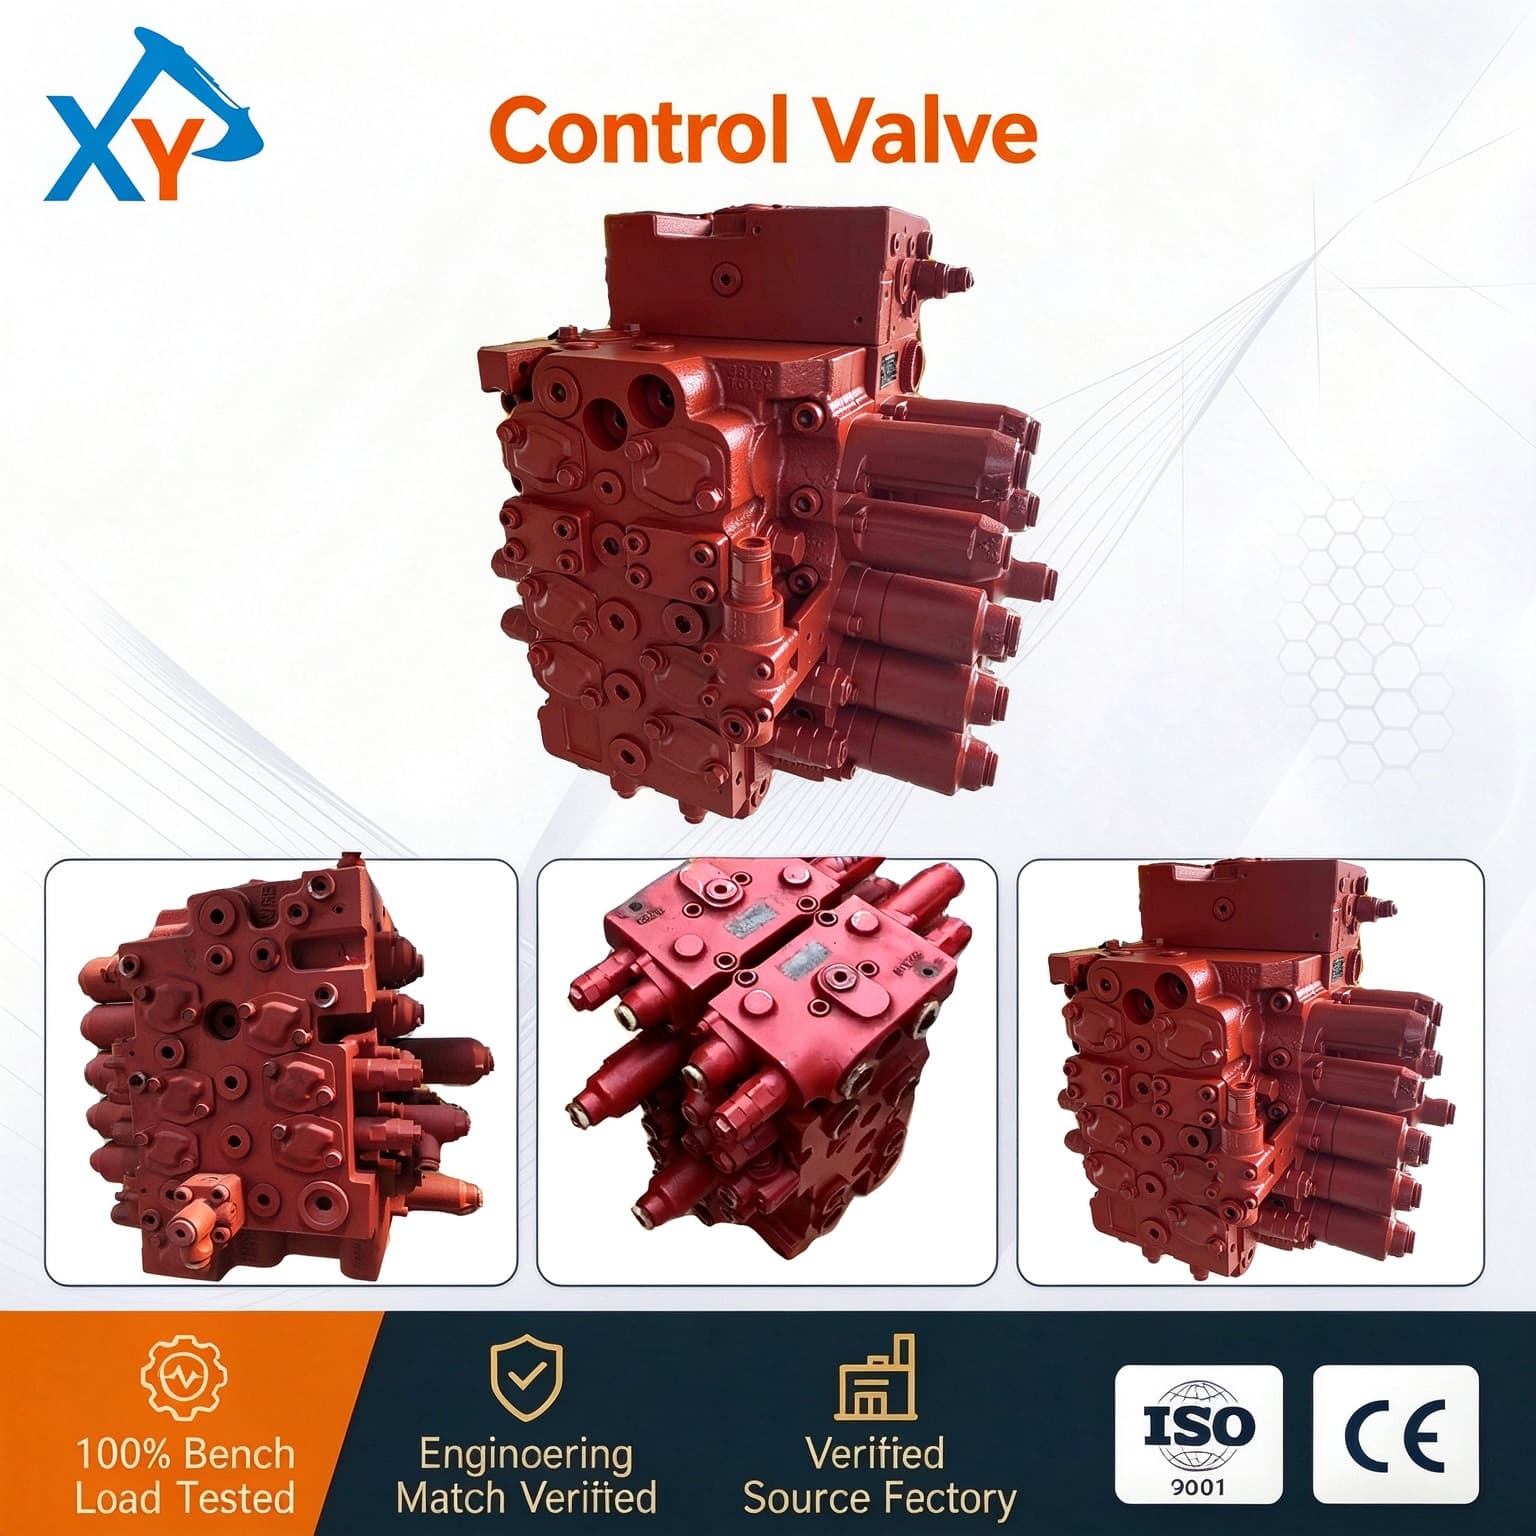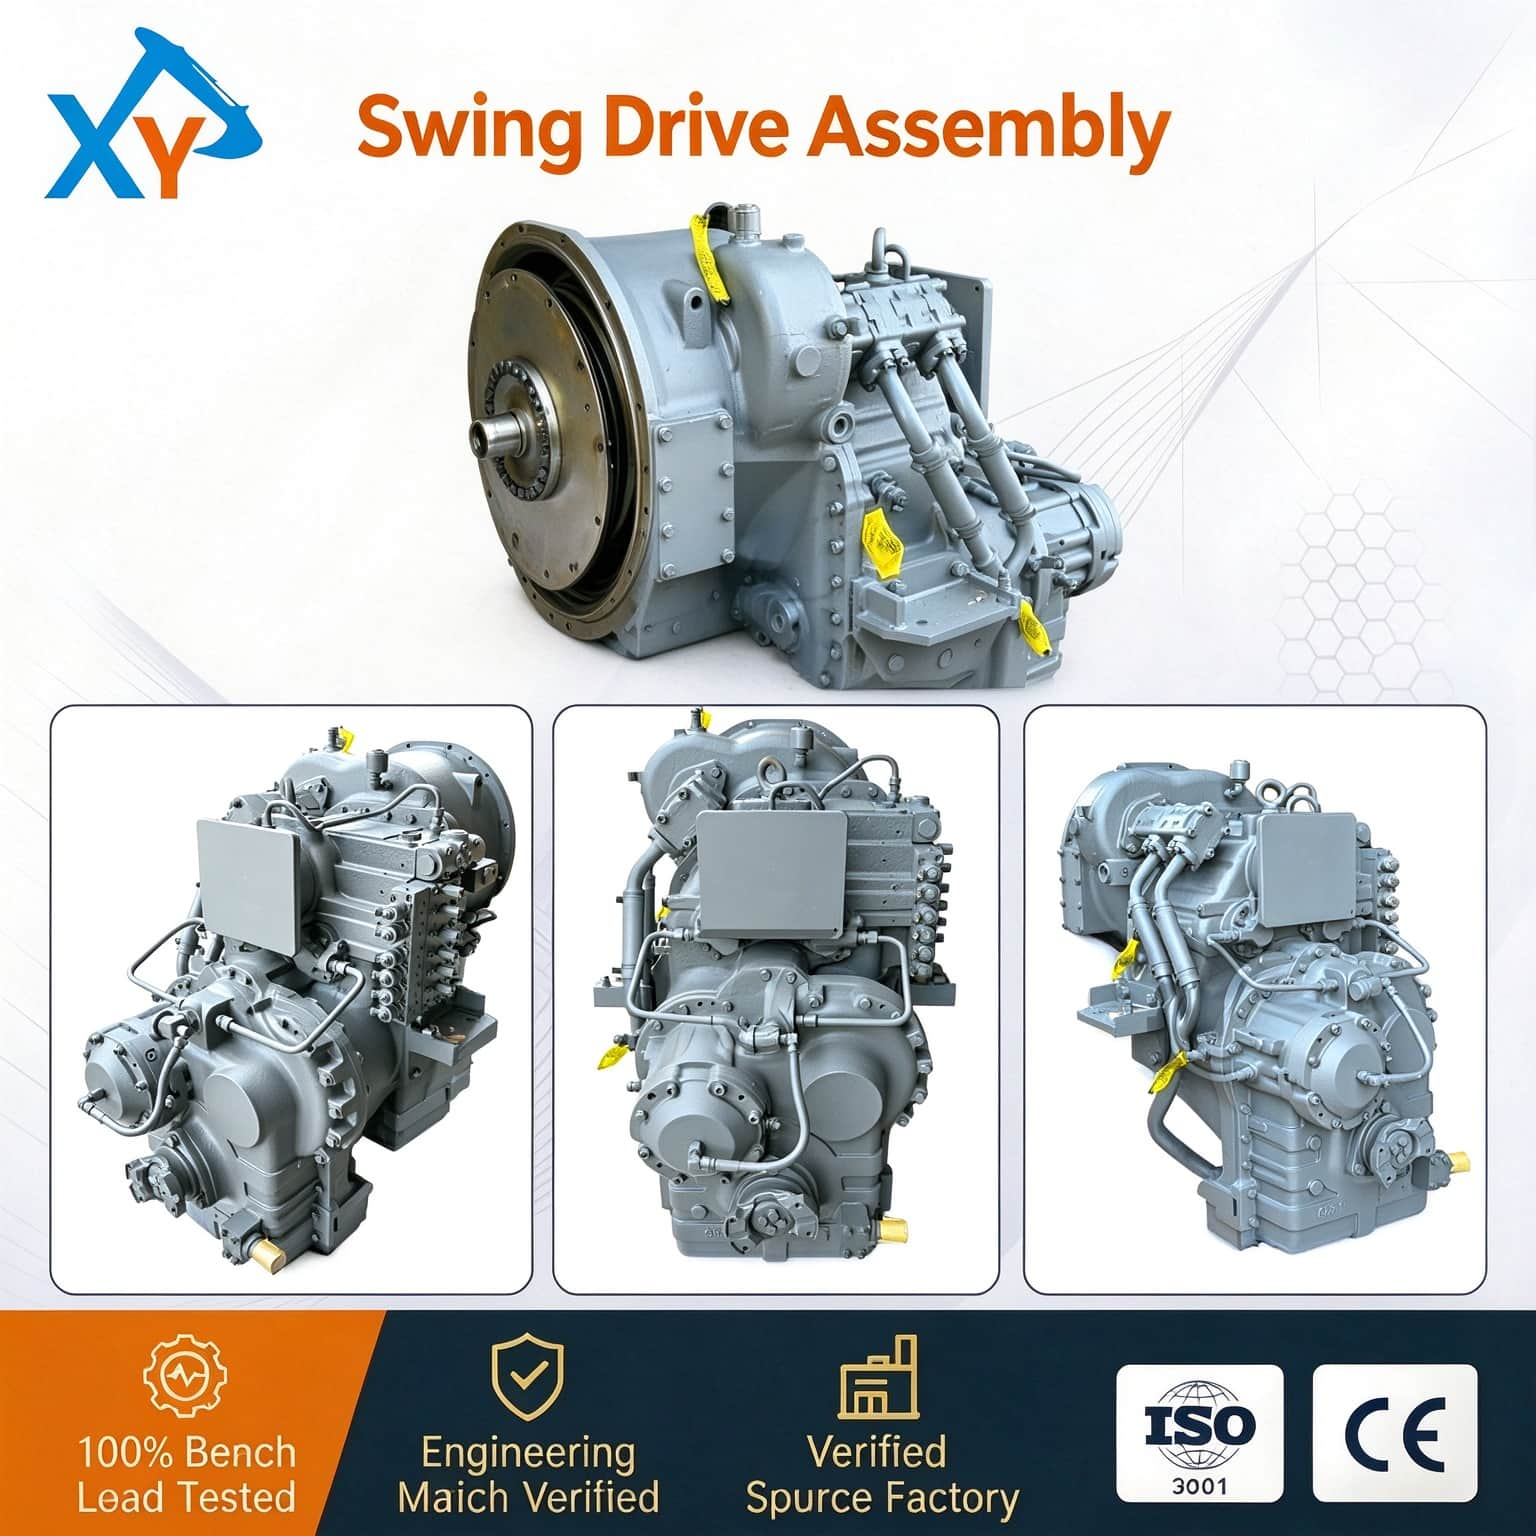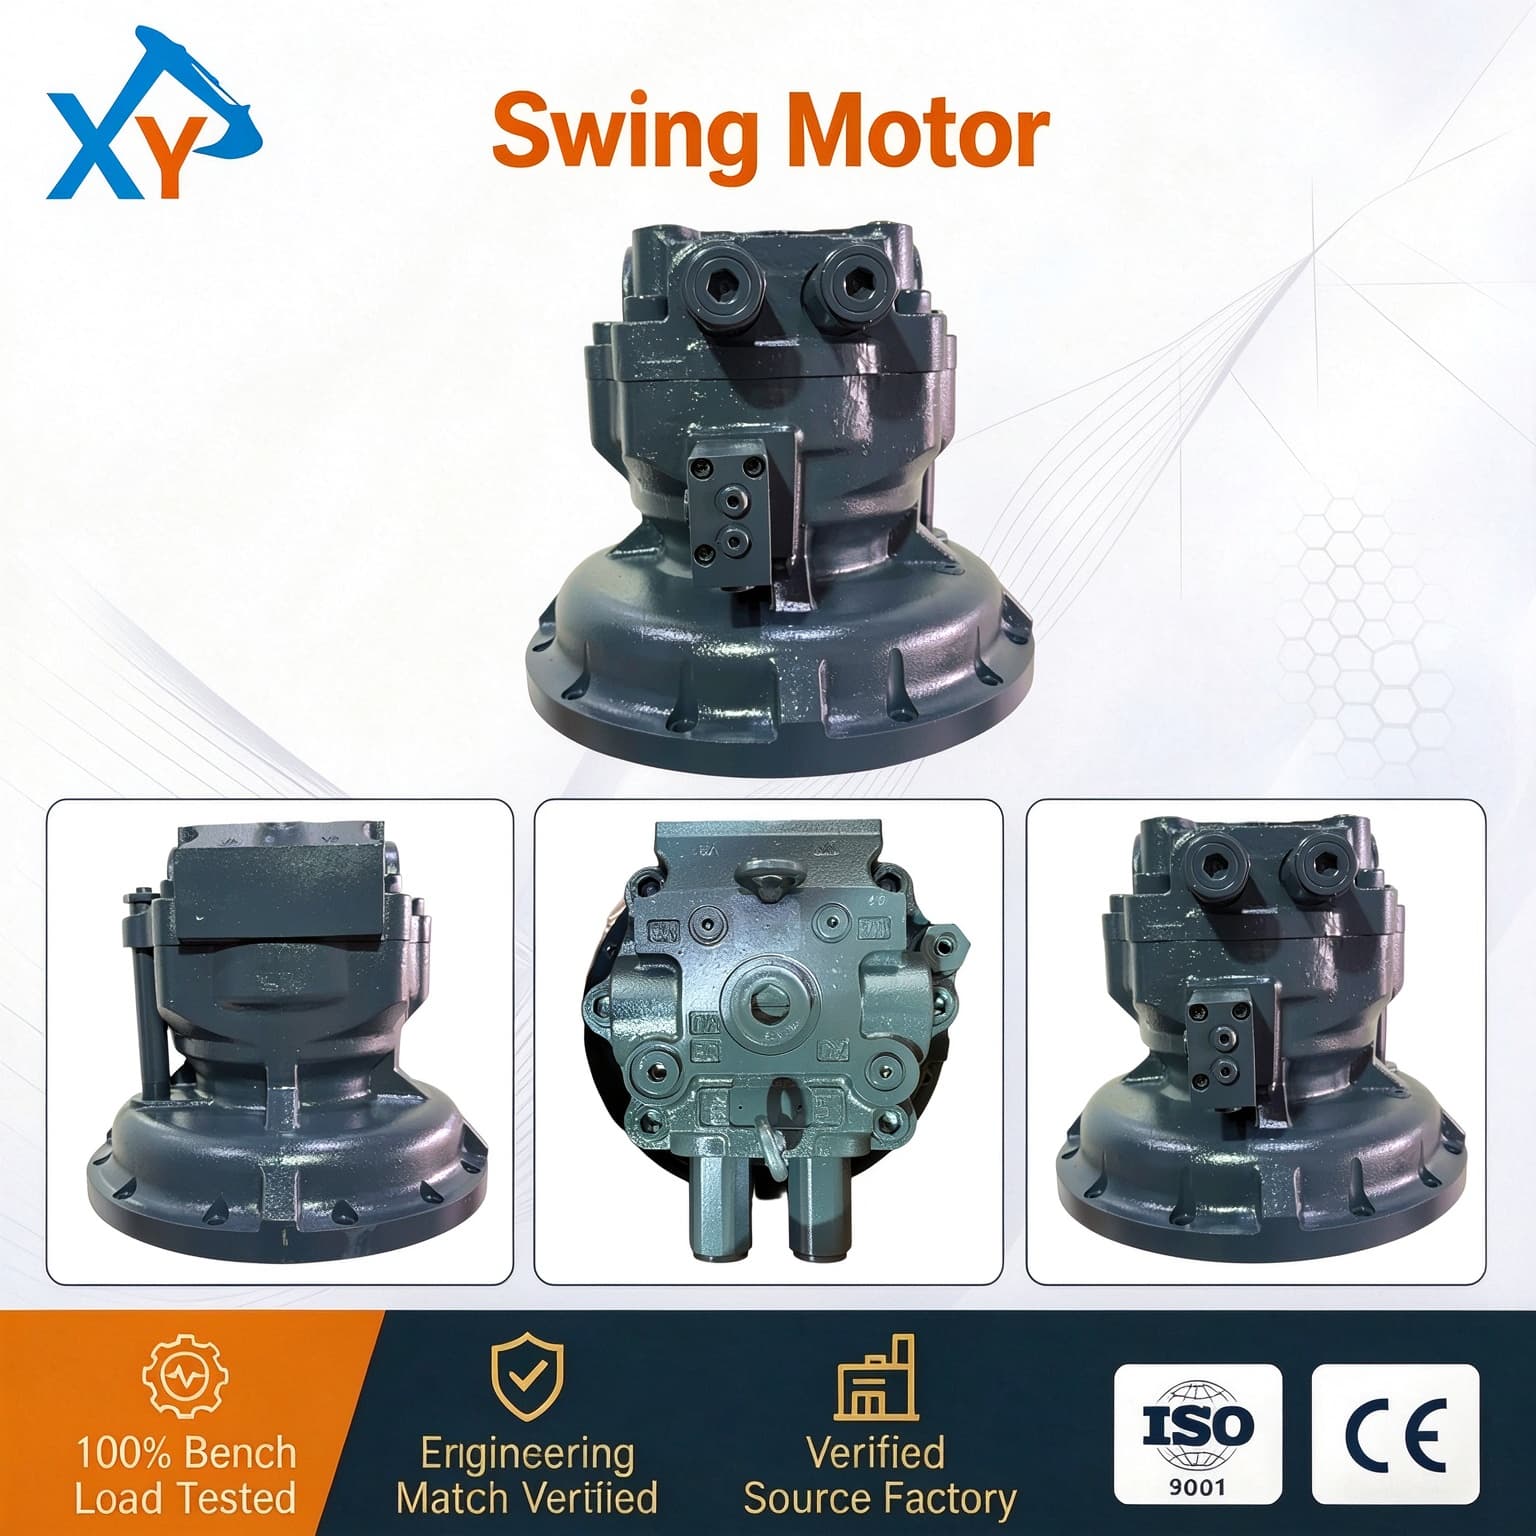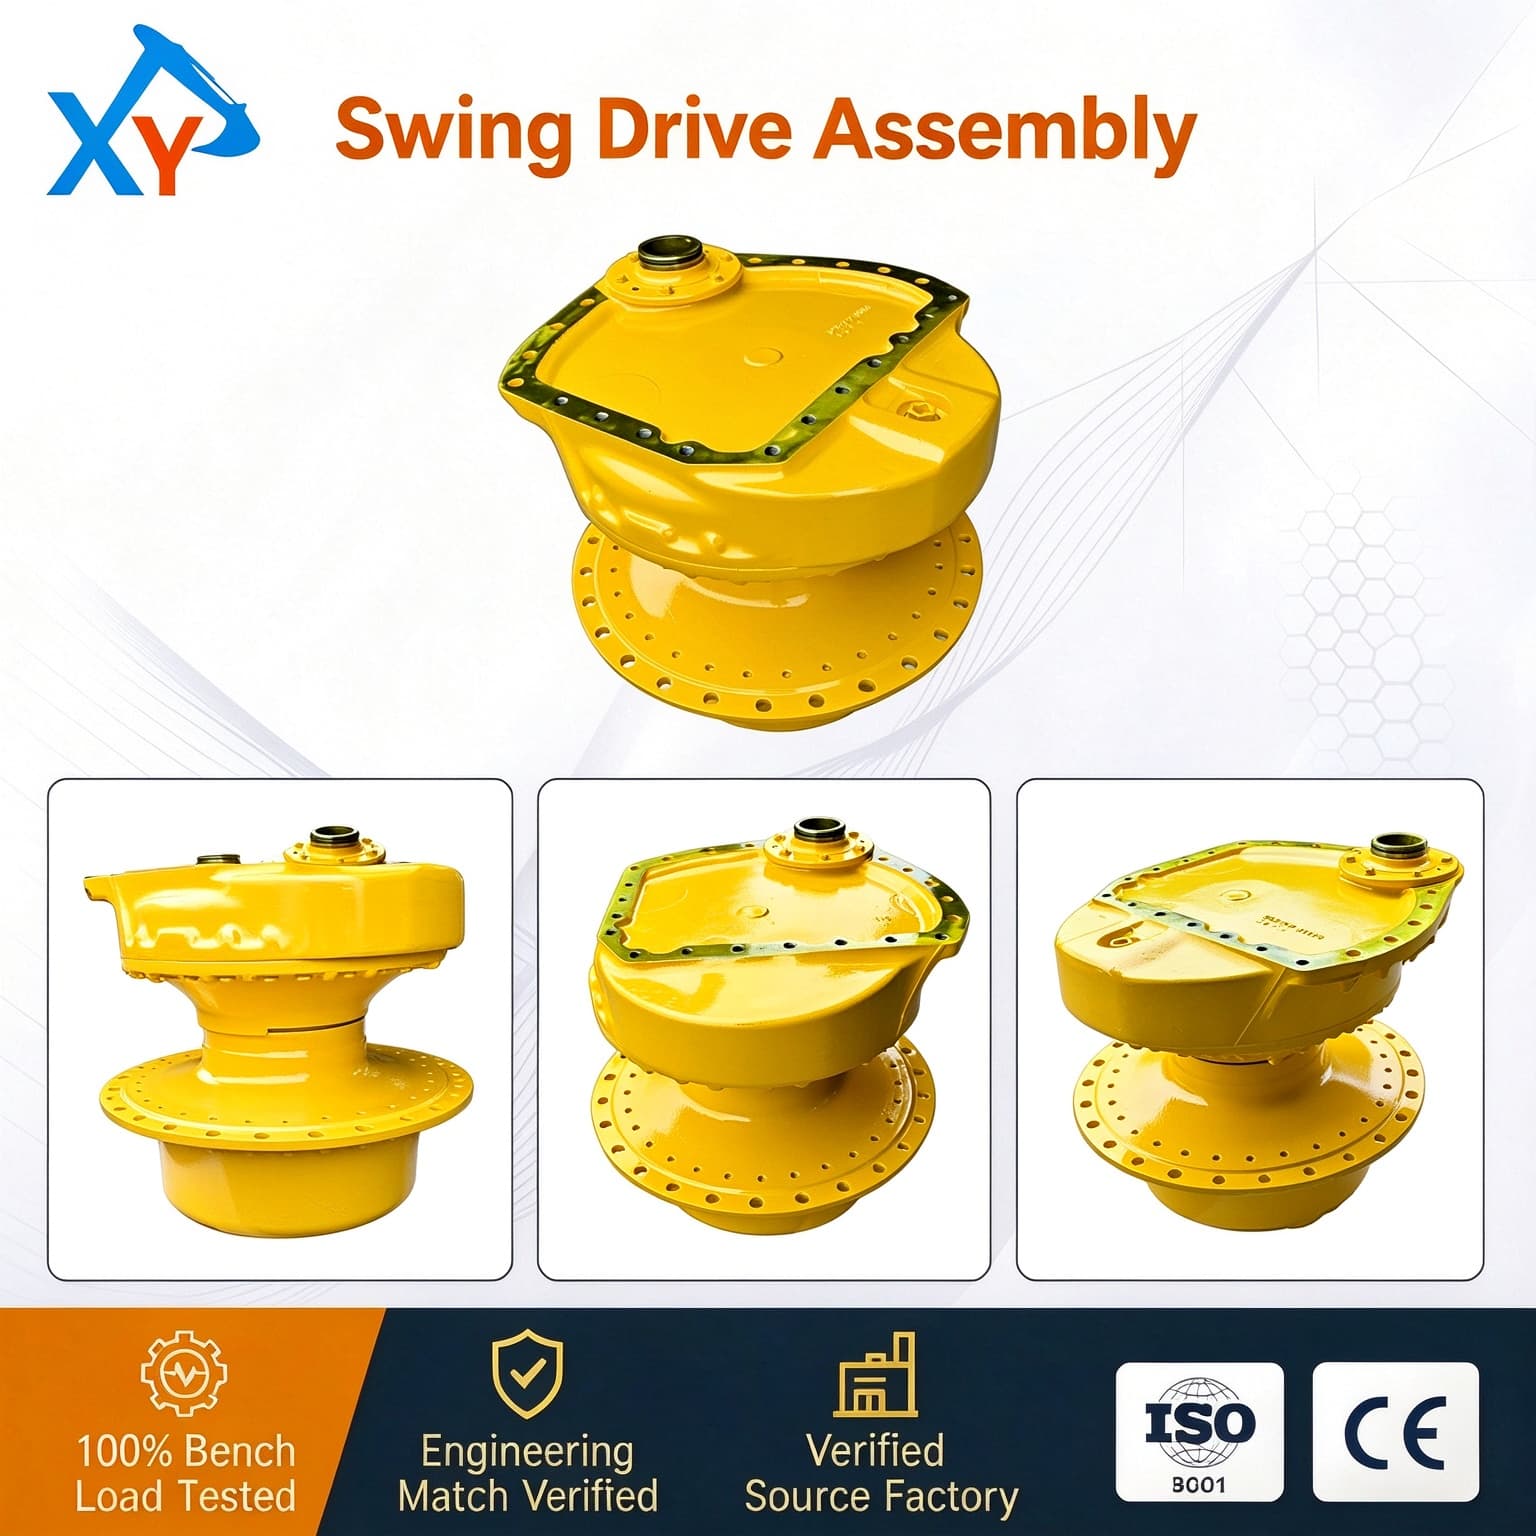
XINYA supplies excavator parts including hydraulic pumps, travel motors, swing devices, control valves, engine parts and undercarriage components. Send us your machine model, OEM part number or product photo for fast matching and quotation.
XINYA supplies excavator parts including hydraulic pumps, travel motors, swing devices, control valves, engine parts and undercarriage components. Send us your machine model, OEM part number or product photo for fast matching and quotation.

Excavator hydraulic seals usually fail early when the seal is damaged during installation, exposed to unsuitable operating conditions, or paired with a worn or contaminated component. Heat, pressure changes, side loading, fluid incompatibility, and poor surface condition can also shorten seal life. A leak is a symptom, not a complete diagnosis: the failed seal and its surrounding system need to be inspected together.
This guide explains common failure mechanisms, inspection steps, and what to confirm before ordering a seal. Materials, dimensions, methods, and operating limits vary by component. Use the machine’s approved documentation and seal supplier specification.
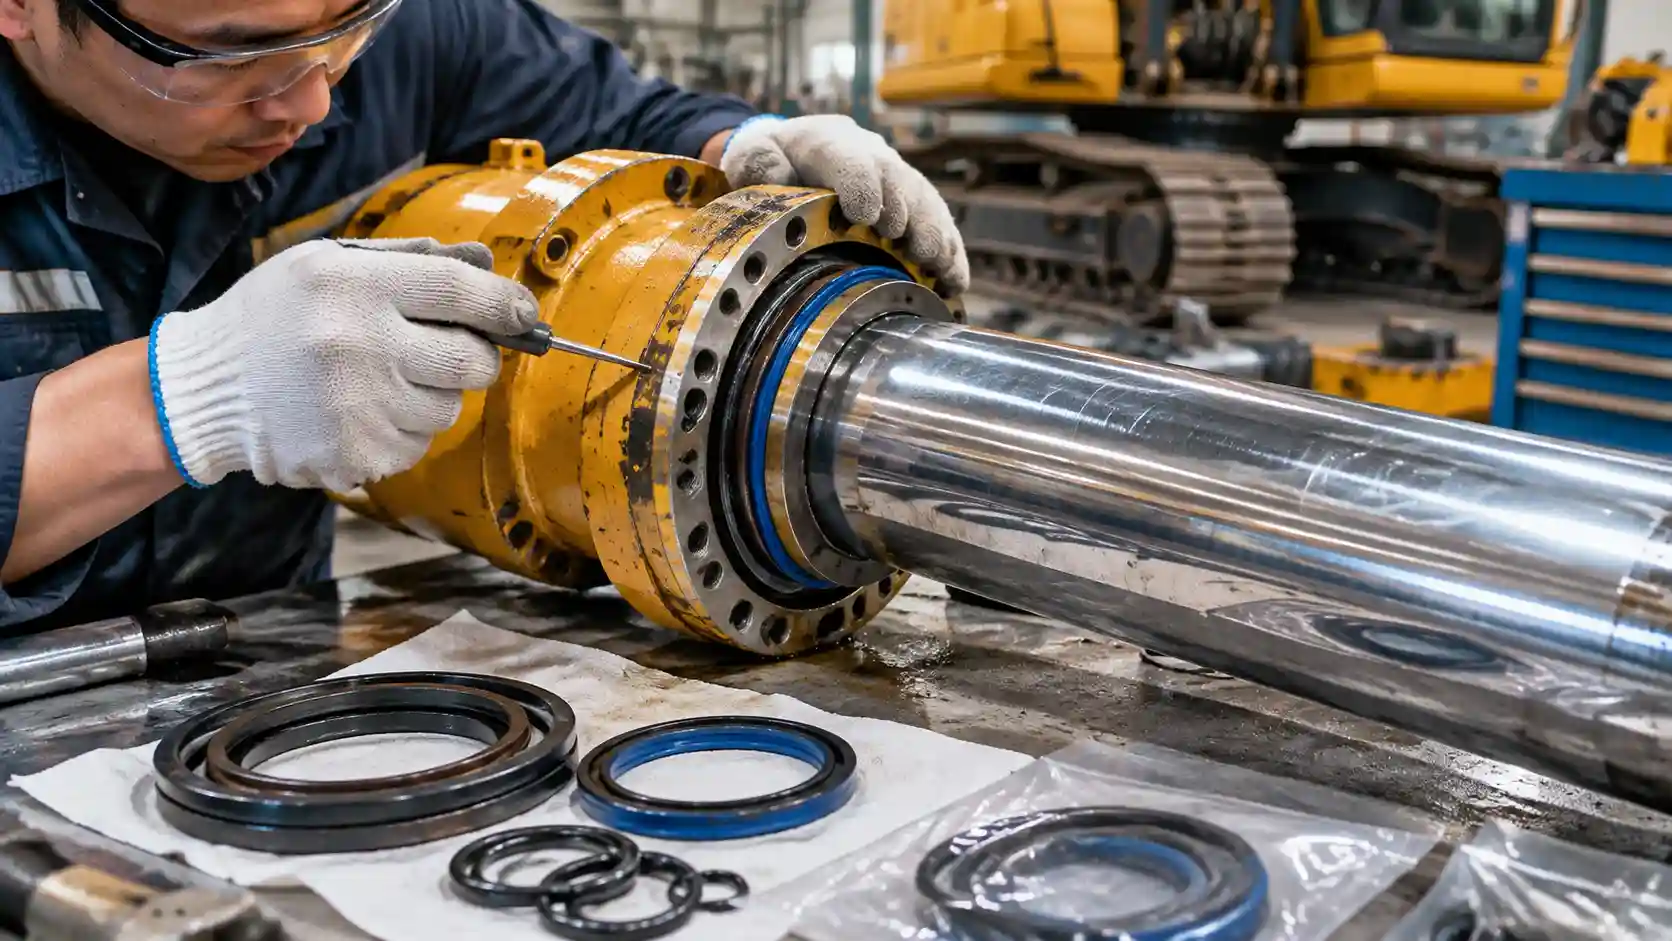
A hydraulic seal limits oil leakage at a moving or stationary interface. Excavator seals may be used in cylinders, pumps, motors, valves, swivels, and hose connections. Dynamic seals contact moving surfaces such as a piston rod; static seals fit non-moving joints.
Seal locations face different pressures, movement, temperatures, fluids, and clearances. A static-joint O-ring is not automatically suitable as a piston or rod seal. A cylinder kit may contain several elements. Confirm seal position and kit contents from the parts documentation.
| Failure cause | What may be observed | What to inspect first |
| Installation damage | Cuts, twists, pinching, immediate leakage | Seal edges, groove, assembly method, and mating surface |
| Contamination | Scoring, embedded particles, recurring leakage | Oil condition, filtration, cleanliness, and component surfaces |
| Heat or aging | Hardening, cracking, loss of elasticity | Fluid condition, temperature history, and material specification |
| Pressure shock or unsuitable pressure | Extrusion, nibbling, deformation | System event history and model-specific pressure-control components |
| Side load or misalignment | Uneven wear, localized damage, rod or bore wear | Linkage, mounting, alignment, and mechanical play |
| Incorrect seal selection | Swelling, shrinkage, poor fit, repeat failure | Part number, dimensions, material, fluid, and application |
| Damaged surface or excessive clearance | Abrasion, leakage that returns after replacement | Rod, bore, groove, finish, and wear against service criteria |
These clues are not conclusive diagnoses. Confirm findings against service limits and seal documentation.
A new seal can be damaged before the excavator returns to work. Sharp edges, burrs, threads, dirty grooves, incorrect tools, twisting, or stretching can nick or distort the lip. Incorrect direction or position can also prevent a seal from working as intended.
Before assembly, confirm the specified seal, groove, orientation, lubricant, and method from approved instructions. Protect it from sharp features and do not force it over threads or edges. Do not improvise heating, stretching, or lubricant methods unless the instructions allow them.
If a replacement leaks immediately, inspect the seal and assembly path before ordering another. A burr, damaged groove, or incorrect method can cause a repeat failure.
Particles in hydraulic oil can abrade sealing surfaces and closely fitted components. Dirt may enter during maintenance, through a damaged breather or seal, or when open lines are left unprotected. Water and degraded oil can also affect the system, but testing methods depend on the application.
Follow the maintenance manual when checking filter indicators, service gaps, recent component work, exposed openings, or visible contamination. Appearance alone does not confirm oil cleanliness. Use specified sampling and fluid-handling procedures.
If contamination is confirmed, a seal change alone may not address the cause. A qualified technician can determine whether oil, filters, reservoir, lines, or other components need service. The excavator hydraulic pump and hydraulic components pages identify product categories, not diagnostic specifications.
Excess heat can accelerate aging in some seal materials. Causes may include operating conditions, restricted cooling, fluid problems, or a mechanical or hydraulic fault. An incompatible fluid may cause a seal to swell, soften, harden, or change dimensions.
Use machine documentation to identify the required fluid and limits. Confirm seal material compatibility with the component or seal supplier’s approved documentation. Do not select material by color or appearance alone.
If a seal fails repeatedly, record when leakage appears, fluid and service history, and recent changes in use or repair. This can help assess heat or compatibility concerns.
Fast pressure changes, a control fault, shock loading, or operation outside approved conditions may damage a seal. Pressure can force material into a clearance and deform it. The result may look like extrusion, nibbling, or a torn edge.
These patterns do not prove a pressure event. Check fault records and relevant valves using the target model’s procedure. Never raise a pressure setting to stop a leak. Limits and test points must come from the correct manual or approved document.
Seals depend on mating-surface condition and alignment. A bent rod, worn bushing, loose mounting, damaged bore, or side load can create uneven contact, wearing a new seal in the same place.
Look for uneven wear, rod scoring, corrosion, abnormal play, linkage damage, or impact marks. Measurements and limits come from component documentation; visual inspection alone cannot confirm a rod or bore remains in specification.
This also applies to travel or swing units. A leak may involve a seal, shaft, bearing, housing, or alignment. Consult parts information for the correct excavator travel device or excavator swing device. Seal kits are listed in the excavator seals category.
Similar seals can differ in cross-section, lip design, material, hardness, or position. A generic measurement may not suit the target cylinder or interface. Follow the documented kit specification for repairs.
Identify make, model, serial number, component number, seal location, and kit number. Compare dimensions and material with the applicable parts list or supplier specification. If the original number is missing, use component markings and photos for an initial fit check, then verify against approved records.
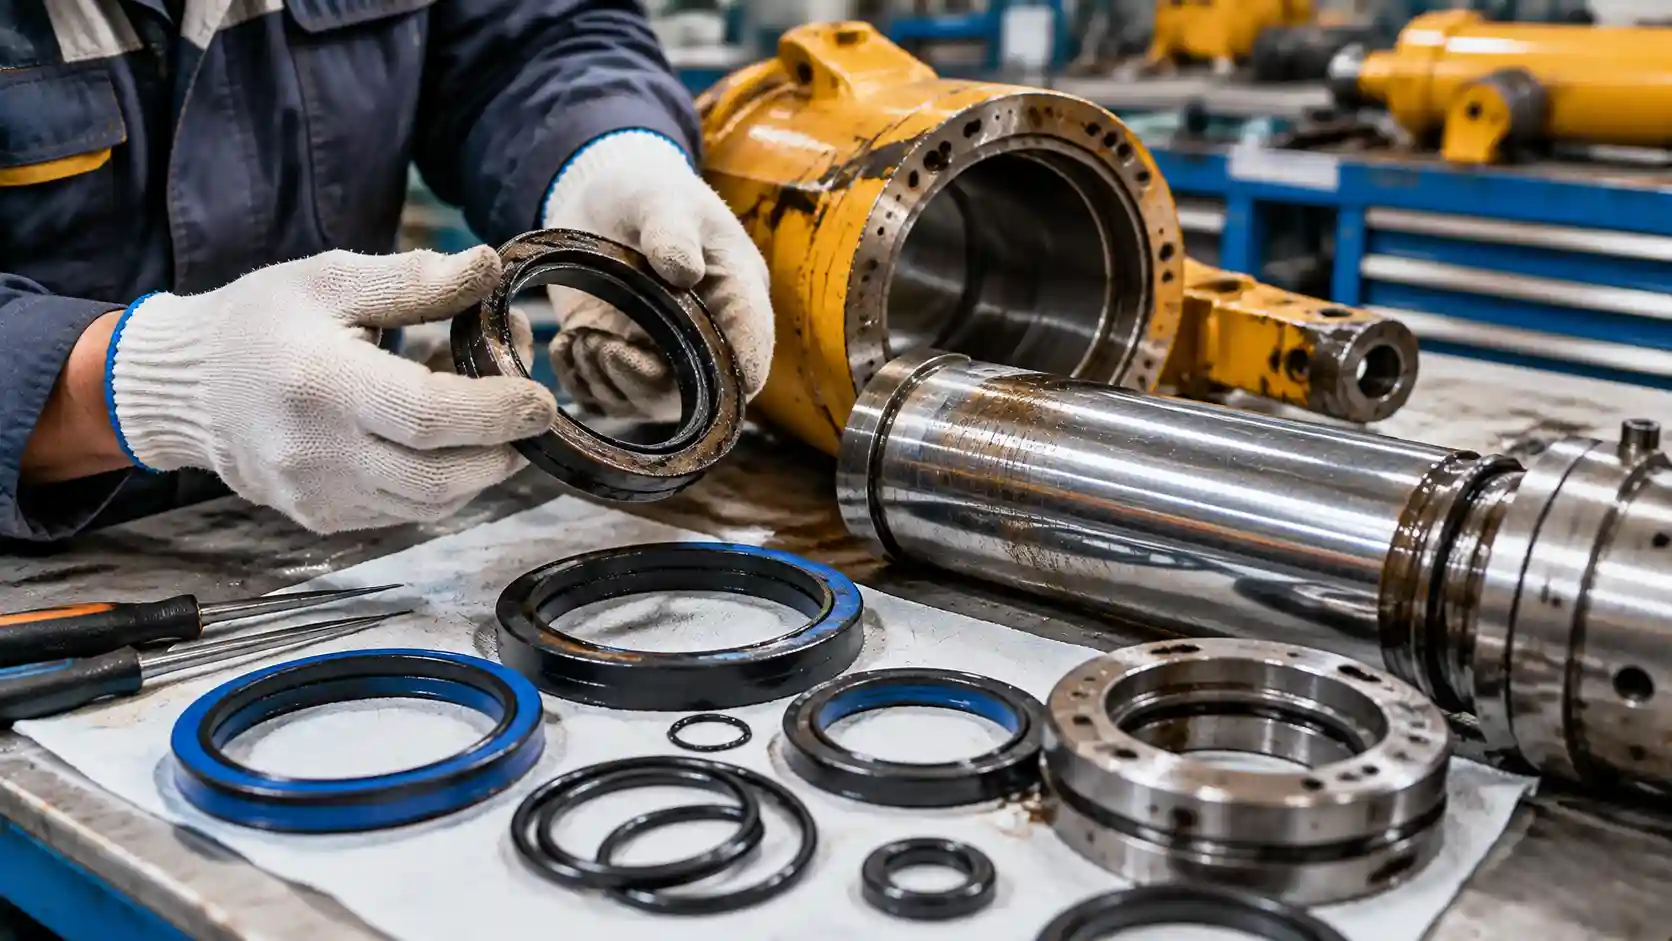
Never locate a leak by hand. A high-pressure jet can penetrate skin. Use the manufacturer’s safe inspection method and seek urgent medical care after a suspected injection injury, even if the wound looks small.
This is a hypothetical example, not a customer case or measured repair record.
A boom cylinder on an excavator begins weeping oil around the rod after seal replacement. The leak appears after digging and increases during loaded movement. No pressure or temperature readings are assumed.
The technician secures the machine, relieves pressure as the manual directs, and cleans the area. The leak starts at the rod seal, not a nearby hose. The removed seal has a localized cut, and inspection finds a sharp edge at the entry area. The technician checks for rod scoring and confirms the kit number against parts information.
The inspection rules out an external hose leak and finds no visible rod scoring; dimensional checks are still required. The hypothetical root cause is installation damage at the entry edge, not a proven pressure fault. The technician addresses the edge as permitted, installs the approved kit using its specified method, and resolves any other issue found.
The technician follows the manufacturer’s test sequence, checks for fresh leakage, and re-inspects after return to service. Accept the repair only if the leak does not recur and model-specific checks pass. No measured result is claimed.
The follow-up record should include the repaired component, seal kit identification, installation date, observed operating condition, and any inspection still pending. A short note about the original failure pattern can save time when the same machine returns for service. It also helps the next parts request stay tied to the correct serial-number range instead of drifting toward a visually similar kit.
These are general maintenance practices. The target machine’s approved manual determines the actual procedure and limits.
Send make, model, serial number, component number, seal location, clear photos of the component and seal, fluid type, symptoms, and whether you need an individual seal or kit. XINYA can provide a preliminary match; confirm material and dimensions against component documentation.
Possible causes include installation damage, an incorrect seal, a damaged mating surface, or an unresolved system condition. Inspect the failed seal and follow the component’s repair procedure.
Contaminants can abrade seals and mating surfaces. Confirm oil condition and service needs using the machine-specific maintenance procedure.
Dimensions alone may not confirm material, profile, position, or application. Verify the kit or seal against the exact component documentation.
No. Never use your hand to locate a pressurized leak. Follow the manufacturer’s inspection procedure and seek urgent medical care after any suspected injection injury.